

If you’ve ever had your windows tinted, you will have film on your windows. While there are lots of benefits to having window film – for example, insulating your home throughout the year – there are times when you need to remove the film. Maybe you’ve just moved into a new home with old film on the windows, or perhaps you had your windows tinted years ago and want them refreshed.
Whatever your reason, here’s a step-by-step guide that you can follow to remove the film from your windows:
1) Remove the adhesive
The film can’t be peeled off windows unless you take steps to remove the adhesive holding it to the glass. You can dissolve the adhesive by spraying it with a combination of soapy water and ammonia. To ensure this step is carried out safely, have the windows and doors open so that the space is well-ventilated while you use ammonia. Leave the ammonia and soap to dry before moving on to the next step. It’s recommended that you leave it overnight for maximum effectiveness.
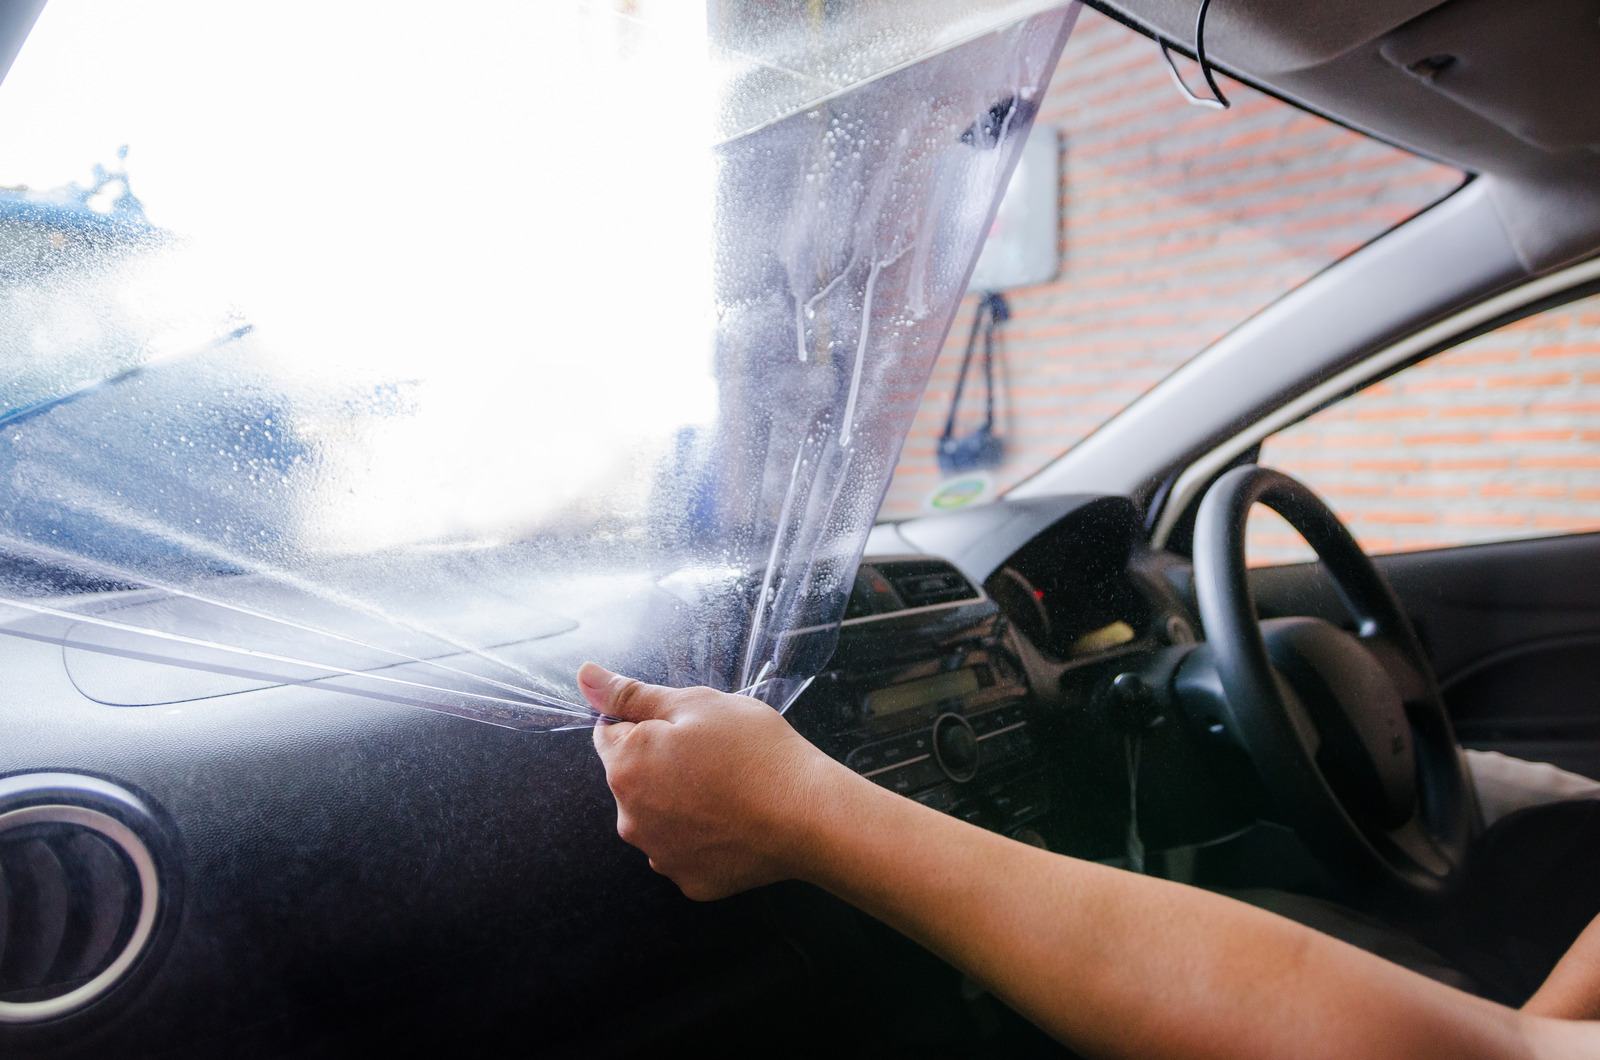
2) Begin to remove the film
After the ammonia has had a chance to work, peel up one corner of the film sheet. Peeling slowly will help you to remove the sheet in one go, but don’t worry if it breaks. Remove as much as you can at once before moving on to any smaller pieces that have been left behind. Remember, the longer you left the ammonia to work, the easier the film will be to remove, as more of the adhesive will have dissolved.
If there are any small pieces of film that can’t be peeled off, you can use a paint scraper to carefully remove them without damaging the glass.
3) Clean the window
After the film has been removed, you may find that there are traces of adhesive left over. This also needs to be removed, as it can make your windows look dirty, as well as make it more difficult to apply a new tint.
The best way to get rid of leftover adhesive is to wipe the windows down with a cleaning solution that contains ammonia, which helps to dissolve any remnants.
If you’ve recently removed the old film from your windows, you may want to replace it so that you can continue to enjoy the benefits of window tinting. If you’re looking for window tinting in North Shore, get in touch with Decal Team.
Frequently Asked Questions
Do you offer a professional window film removal service?
Of course. Decal Team provides removal and replacement services for residential, commercial, and vehicle window films across Auckland. We can help if you want to refresh your windows or if you have recently moved into a new property with old, existing film that needs to be professionally replaced.
Can I remove the window tint myself, or should I hire a professional?
You can remove window tint yourself by following a simple step-by-step process using basic household items and an ammonia-based solution. While the DIY approach is achievable with patience, hiring our expert team ensures a clean, mess-free result without the risk of leaving stubborn adhesive residue.
How do you remove window film from glass step by step?
The process starts by spraying the film with a mixture of soapy water and ammonia and leaving it, ideally overnight, to dissolve the adhesive. Once the glue has softened, peel the film slowly from a corner, then use a paint scraper to carefully lift any remaining small pieces.
What is the best spray for removing window film adhesive?
A combination of soapy water and ammonia is the most effective spray for breaking down the bond between the film and the glass. This mixture dissolves the adhesive, making it much easier to peel the sheet away in one go and allowing for a final clean that leaves the glass clear.
Does removing window film damage the glass?
Absolutely not. Removing window film will not damage the glass as long as you use the correct solution to soften the adhesive before peeling. By allowing the mixture to work effectively, you can safely use a paint scraper on stubborn spots without scratching or marking the window surface.
